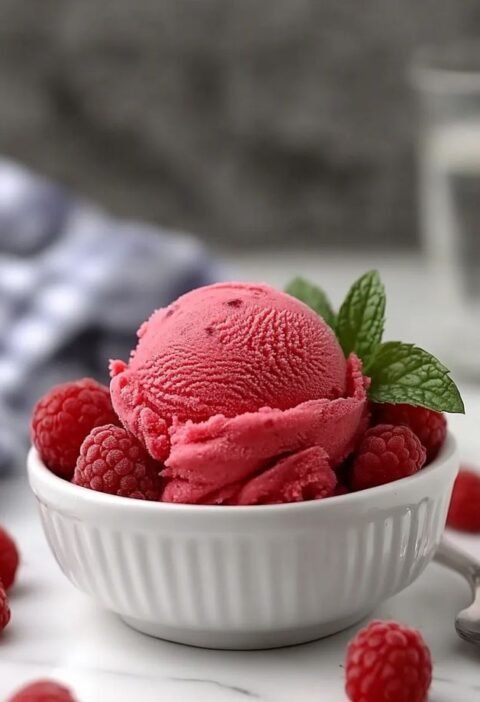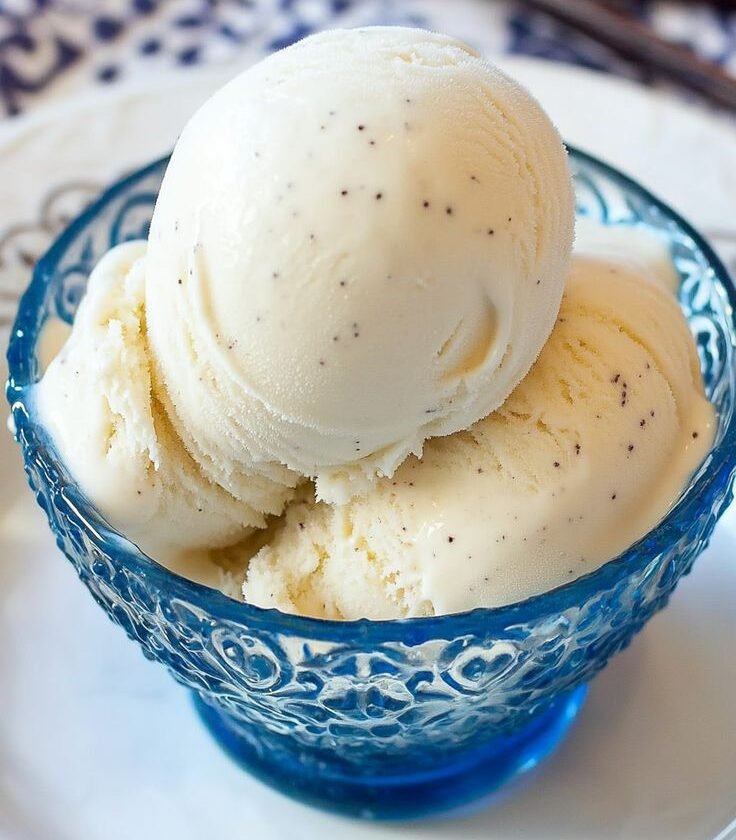
Ever Miss the Taste of Real Vanilla Ice Cream on Keto?
You know that moment when you crave the simple comfort of creamy vanilla? But then reality hits—sugar, carbs, and all the things that don’t fit your keto plan.
You’re not alone. That’s why this Ninja Creami Keto Vanilla Bean Ice Cream exists. It’s silky, flavor-packed, and fully low-carb. You’ll recognize every note of vanilla, but without the guilt or hidden sugars.
Plus, it’s easier than you think. Once you taste how authentic and satisfying this is, you’ll wonder why Keto dessert had to be complicated.
1. Why Classic Vanilla Works Perfectly with Keto and Ninja Creami
Why vanilla, you ask? Isn’t it basic?
Here’s the truth: vanilla is the perfect canvas. It’s nostalgic. It’s versatile. And when done right, it’s endlessly satisfying. Add low-carb sweeteners and premium ingredients, and you transform a simple concept into something luxurious and keto-appropriate.
And the scoop? Ninja Creami’s spin technology makes a traditionally challenging keto base feel and taste like high-end creamery ice cream—with no sugar, no gums, no preservatives.
2. Ingredient Rundown – Simple, Quality, Keto-Friendly
Let’s gather what you’ll need to build that flavor-packed foundation:
Creamy Base:
- 1 cup unsweetened almond milk (or full-fat coconut milk for richer creaminess)
- ½ cup heavy cream
- 3 Tbsp allulose (or a monk fruit blend)—keto sweetener that keeps it soft when frozen
- 1 tsp vanilla powder or 1 Tbsp vanilla extract
- ½ vanilla bean (seeds scraped) or ½ tsp vanilla paste
- Pinch of sea salt
Optional Boosters:
- 1 Tbsp unflavored collagen peptides (for added texture and protein)
- A few drops liquid stevia (to dial sweetness)
- ½ tsp xanthan gum (creates an ultra-creamy, slow-melter texture—optional)
You’ll notice these are pantry items if you’re living low-carb. No sugar-laden ice cream base required.
3. Tools You’ll Need – Keep It Simple
Homemade doesn’t have to be complicated. Here’s all you need:
- Ninja Creami (blade + pint container included)
- Medium mixing bowl and whisk
- Measuring cups/spoons
- Knife to split vanilla bean
- Freezer space (prioritize that 24-hour freeze!)
That’s all. No churning or fancy skills required—just a creamy result.
4. Step 1: Whip Up That Luscious Vanilla Bean Base
Let’s build your scoopable foundation:
- Split vanilla bean lengthwise and scrape out seeds.
- In a bowl, whisk together almond milk, heavy cream, allulose, vanilla extract/powder, bean seeds, and salt.
- Optional: stir in collagen or xanthan gum for richer texture.
- Taste—it should feel noticeably sweet and vanilla-forward (especially since cold mutes flavor).
If it tastes good now, it’ll taste great after spinning.
5. Step 2: Freeze Solid for Ultimate Creaminess
The Ninja Creami works best with thoroughly frozen bases. To get that:
- Pour mixture into the Creami pint.
- Tap lightly to remove air bubbles.
- Leave ½ inch headspace, seal lid tightly.
- Freeze upright (lid side down) for at least 24 hours.
Patience here ensures a velvety texture after spinning.
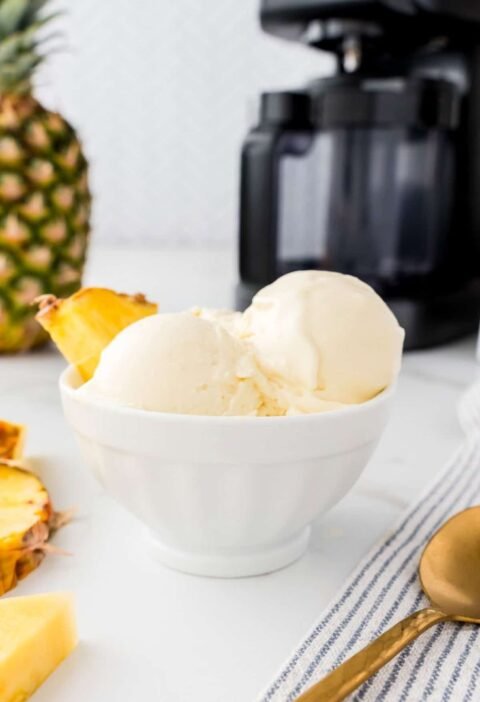
6. Step 3: Transform to Ice Cream with Ninja Creami
Time to see the magic in action:
- Attach frozen pint to the Creami outer bowl and secure blade lid.
- Select “Ice Cream” mode and press start.
- Once the cycle ends, check texture—if crumbly, add 1 Tbsp heavy cream or almond milk inside pint.
- Press “Re-spin” for a smooth, scoopable result.
You’ll be amazed at how creamy it looks after just one spin.
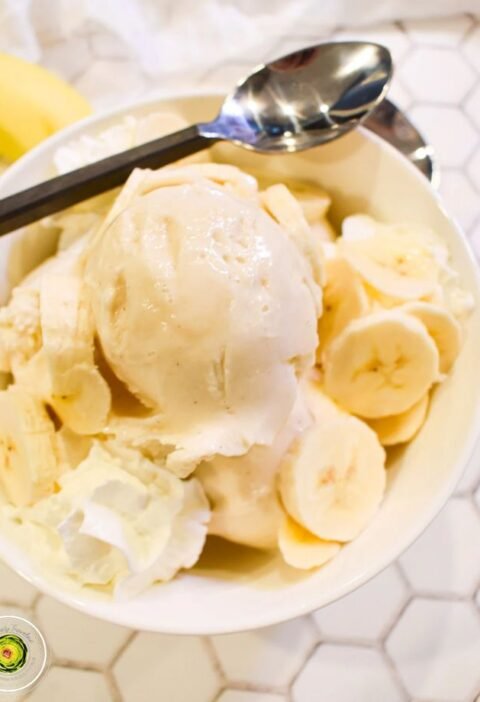
7. Step 4: Optional Mix‑Ins to Personalize
Want to jazz it up? Now’s your chance:
- Vanilla bean specks: add scraped seeds of additional vanilla bean.
- Nuts or crunch: fold in chopped pecans, walnuts, or keto granola using the “Mix‑In” function.
- Chocolate stripes: drizzle sugar-free ganache before serving.
Just stir and spin again to incorporate with texture intact.
8. Nutrition Snapshot: Macros That Work
Here’s what one 16‑oz pint yields, roughly 2 servings:
| Nutrient | Per Pint |
|---|---|
| Calories | 440–480 |
| Net Carbs | 4–5 g |
| Fat | 44 g |
| Protein | 4–6 g |
| Sugar | 0 g added (bean has negligible) |
Naturally rich and keto-friendly—without sacrificing taste.
Video:
9. Flavor Variations to Try Next
Once you nail the base, creativity awaits. Here’s a few low-carb flavor spins:
- Olive Oil Salted: swirl in 2 Tbsp extra-virgin olive oil, top with flakey salt.
- Cinnamon Honeycomb: stir in 1 tsp ground cinnamon before freezing.
- Lemon Lavender: add 1 Tbsp lemon zest and ½ tsp culinary lavender.
- Coffee Kick: dissolve 1 tsp instant espresso into leftover cream and swirl.
These stay low-carb but add high-impact flavor.
10. Troubleshooting Table – Perfect Every Time
| Problem | Fix |
|---|---|
| Crumbly texture | Re-spin with 1 Tbsp cream or milk |
| Weak vanilla flavor | Increase vanilla extract or beans before freezing |
| Too sweet or bland | Adjust sweetener pre-freeze – cold gives sweetness |
| Hard to spin | Let pint sit 5 min at room temp, then re-spin |
A few simple tweaks ensure perfection every time.
11. Storage Tips & Re‑Spinning Advice
Your ice cream lasts longer with this method:
- Smooth top, seal tight, freeze flat for up to 3 weeks.
- To refresh: let it sit 5–10 min, add 1 Tbsp cream/milk, and re-spin.
- Texture stays creamy—no rock-solid, no icy chunks.
It stays scoopable and delicious.
12. Benefits of Homemade over Store‑Bought
Sure, you can buy low-carb ice cream—but here’s why homemade shines:
- Control every ingredient—no hidden sweeteners or stabilizers.
- Customizable flavors on the fly.
- Cost-effective once you buy the creami.
- Freshness you can taste—no packaging penalties.
It’s your keto ice cream—made your way.
13. Final Verdict: Should You Make This Recipe?
Absolutely. You get:
- Authentic vanilla taste from real beans
- Rich, velvety texture that rivals premium dairy ice cream
- Under 5 g net carbs per pint
- Meal‑prep–friendly: base makes 2–3 pints in a week
If you want a go-to keto dessert with endless variations, this is the one.
14. Your First Scoop: What’s Next?
Tonight: prep the base.
Tomorrow: spin your pint.
The day after: tuck in—on your terms, guilt-free, utterly delicious.