Introduction
You’re craving ice cream packed with flavor and fun texture—but don’t want to settle for plain vanilla. Enter honeycomb ice cream: smooth, sweet, and loaded with crunchy honeycomb toffee. And the best part? You can make it at home using the Ninja Creami—no candy thermometer required.
This recipe balances creamy dairy base with chunks of homemade honeycomb, creating a symphony of textures and sensations. Whether you’re hosting friends or treating yourself, this ice cream delivers a satisfying crunch in every delightful bite.
Let’s break down how to make this dessert stand out—from mixing and freezing to spinning and topping—all in a conversational and active way.
1. Why Honeycomb? And Why the Ninja Creami?
What exactly is honeycomb, and why include it in ice cream? Honeycomb is a light, crispy toffee made with sugar, corn syrup, and baking soda. It’s airy, sweet, and adds that unforgettable crackle.
And why use the Ninja Creami? This gadget freezes your base into a solid block, then spins it into luxuriously creamy ice cream. It’s perfect for preserving the crunch of honeycomb.
The combination brings:
- Creamy base from milk and cream
- Honeycomb toffee for satisfying crunch
- Customizable sweetness and texture just the way you like
2. Ingredients You’ll Need for Honeycomb Ice Cream
This recipe keeps it simple, focusing on quality ingredients.
Base Ingredients:
- 1 cup whole milk
- 1 cup heavy cream
- ⅔ cup granulated sugar
- ¼ teaspoon salt
- 1 teaspoon vanilla extract
Honeycomb Toffee:
- ½ cup granulated sugar
- 2 tablespoons light corn syrup (or golden syrup)
- 2 teaspoons baking soda
Optional Add-Ins:
- ¼ cup dark or milk chocolate chips (to swirl in)
- Pinch of sea salt for topping
High-quality honeycomb makes all the difference to your ice cream’s texture and taste.
3. Step-by-Step: Making the Honeycomb Toffee
You can’t skip this—the honeycomb is the star!
Steps:
- Line a small baking sheet with parchment paper.
- In a medium saucepan, combine sugar and corn syrup. Heat over medium, stirring until sugar dissolves.
- Stop stirring once it starts bubbling. Cook until the mixture turns light amber (around 300–310°F if using a candy thermometer) or about 3–4 minutes.
- Remove from heat and immediately whisk in the baking soda. It will foam up dramatically—stir quickly.
- Pour onto parchment and let cool completely. Break into chunks once set.
This homemade honeycomb ensures the freshest flavor and ideal crunch.
4. Prepping the Ice Cream Base
Next, create the creamy foundation.
Steps:
- Whisk together milk, cream, sugar, salt, and vanilla in a mixing bowl until the sugar dissolves.
- Taste and adjust sweetness—keep it slightly under-sweet, since honeycomb chunks are sweet.
- Pour into your Ninja Creami pint up to the fill line.
- Seal and freeze flat for 24 hours to ensure a firm base.
That solid freeze is essential for the best spin results.
5. Spinning with the Ninja Creami
Once the base is frozen solid, it’s time to spin.
Steps:
- Remove the lid and insert into the Creami outer bowl.
- Lock it in, then select the Ice Cream setting.
- After spinning, inspect the texture.
If it’s crumbly, add 1–2 tablespoons of milk or cream, and hit Re-Spin once or twice until creamy.
6. Mixing in the Honeycomb and Extras
Now for the fun part: add the crunch.
- Remove the bowl and stir in honeycomb chunks.
- Add chocolate chips or a sprinkle of sea salt, if using.
- Use the Mix-In setting on the Creami to distribute evenly—just a quick spin.
Mix-ins get folded gently into the ice cream without crushing the base texture.
7. Texture & Taste: What to Expect
Why does this ice cream work so well?
- Creamy from milk and cream base
- Sweet from balanced sugar
- Crunchy from honeycomb
- Nutty & caramel notes thanks to the toffee
- Optional chocolate adds depth
It’s decadent, refined, and filled with character—every bite is a pleasant contrast between silky and crackling.
8. Customization Ideas for Extra Flair
Make it your own:
| Variation | What to Do |
|---|---|
| Chocolate swirl | Swirl melted dark chocolate after spinning |
| Nutty twist | Add chopped pecans along with honeycomb |
| Sea salt crunch | Sprinkle flaky sea salt on top |
| Caramel ribbon | Add caramel sauce swirls before mix-in |
| Mini honeycomb candy topping | Sprinkle extra on top when serving |
Feel free to adjust sweetness, crunch level, or add a drizzle—this recipe is a flexible framework.
Video:
9. Serving Suggestions
Elevate your presentation:
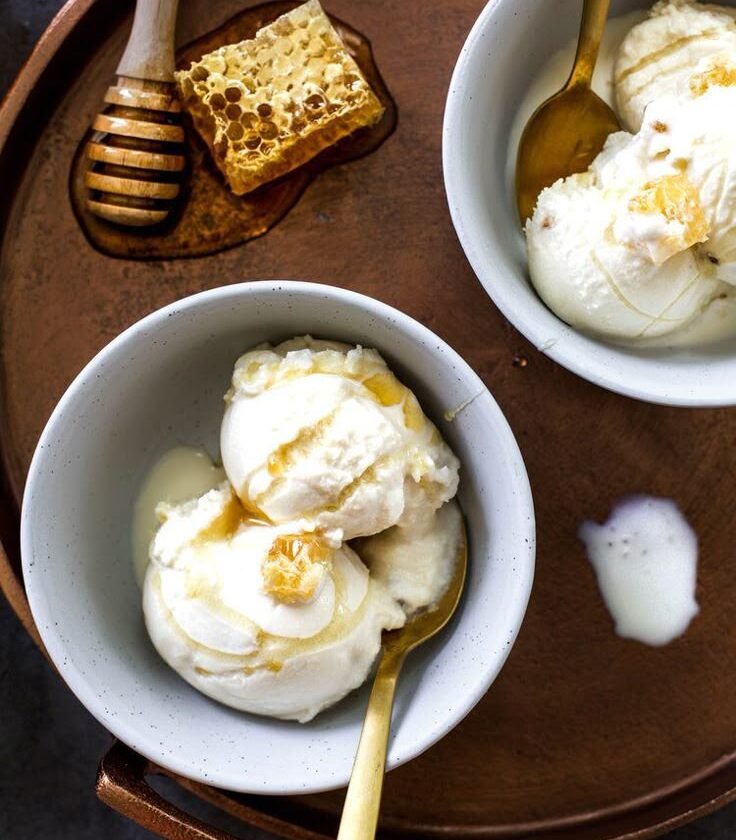
- Scoop into chilled bowls or waffle cones
- Add a sprinkle of honeycomb chunks and sea salt
- Pair with a hot espresso or afternoon tea
- Serve on top of brownies or warm chocolate sauce for “hot-fudge sundae” vibe
The contrast between warm beverages and cold, crunchy ice cream makes a delightful combo.
10. Storage and Re-Spin Tips
Got leftovers? No problem.
- Smooth the surface, re-seal, and freeze.
- When ready to eat again, let it sit for 5 minutes, then use Re-Spin to restore texture.
Avoid thawing too much—keep frozen until just before serving to preserve the crunch.
11. Nutrition Snapshot: Sweet Treat with Serious Flavor
This ice cream isn’t low-calorie, but it delivers on taste and texture with a touch of indulgence.
Approximate per ½-pint:
- Calories: ~350–400
- Sugar: 30–35g
- Fat: 20–25g (from cream + honeycomb)
- Protein: 4–6g
You get a satisfying dessert with real flavor, texture, and presence.
12. FAQs About the Recipe
Q: My honeycomb sunk to the bottom—what now?
Stir it in during mix-in. The initial spin blends incorporates it better.
Q: Can I use store-bought honeycomb?
Yes, but homemade tastes freshest and has best texture. Commercial toffee can be too hard.
Q: Can I make it dairy-free?
Swap milk and cream with coconut cream and almond milk. It works beautifully.
Q: How long does it keep?
Freeze up to two weeks—re-spin before each serving for best texture.
Q: Can I double the recipe?
Yes, but freeze in two separate pints for optimal spinning.
13. Perfect Occasions to Serve Honeycomb Ice Cream
This ice cream fits many scenarios perfectly:
- After-dinner treat when you want a sweet ending
- Celebration for birthdays, small gatherings, or holiday flair
- Movie-night indulgence with a decorative crunch
- Gift-worthy dessert served in cute pint containers
- Warm-day cooler that’s fun to eat
It’s premium enough for guests yet easy enough for everyday decadence.
Conclusion
The Ninja Creami Honeycomb Ice Cream delivers a blissful blend of creamy texture and crisp toffee—without industrial ingredients or fuss. You make the honeycomb, spin the base, fold in the chunks, and you have a celebratory dessert ready in under 30 minutes after freezing.
If you love contrast in your desserts—smooth, crunchy, sweet, and slightly nutty—this ice cream becomes a favorite faster than the honeycomb crackles in your bowl.
Ready to create something sweet, crunchy, and undeniably homemade? The Ninja Creami is your tool, and this recipe is your invitation to indulge.