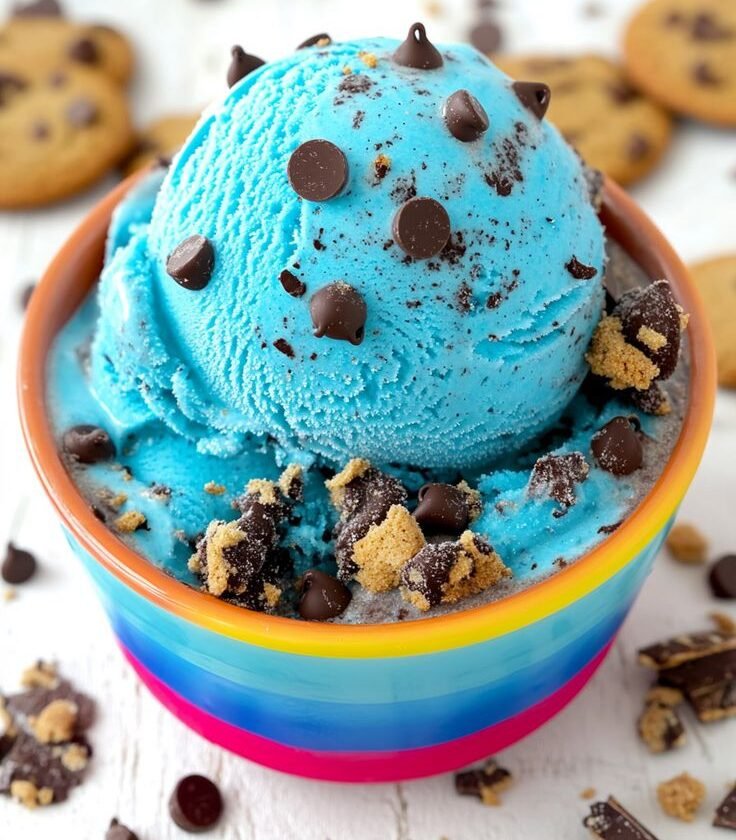
There’s something undeniably fun about turning your favorite cookies into ice cream. But what if you could take it up a notch with that signature Cookie Monster blue and a flavor explosion of cookies and cream?
The Ninja Creami makes that possible. It lets you create wild, whimsical flavors that look like they came straight out of a childhood dream—but with adult-level satisfaction.
So, are you ready to churn up a bold, blue dessert that tastes as outrageous as it looks? Let’s dive into the world of Cookie Monster Ice Cream made with the magic of your Ninja Creami.
1. What Is Cookie Monster Ice Cream?
Ever wondered why this ice cream has such an intense blue color? Or what makes it different from just tossing a few Oreos into vanilla ice cream?
Cookie Monster Ice Cream isn’t just a name—it’s a personality. It’s playful, cookie-loaded, and unapologetically blue. Typically made with a creamy base and loaded with cookies like Oreos, Chips Ahoy, or homemade cookie dough chunks, this ice cream is a mix of indulgence and nostalgia.
And when you make it in the Ninja Creami, you’re not just mixing ingredients—you’re engineering texture, flavor, and creaminess that rivals store-bought brands.
2. Why Use the Ninja Creami for This Recipe?
You might ask: Can’t I just mix cookies into store-bought ice cream?
Sure, but the result won’t come close to what the Ninja Creami delivers.
The Ninja Creami takes frozen mixtures and turns them into luxuriously smooth and creamy ice cream with professional-grade texture. It gives you control over:
- Ingredients: Choose full-fat, dairy-free, or low-calorie bases.
- Add-ins: Load up on cookie chunks without sacrificing texture.
- Customization: Adjust sweetness, consistency, and flavor easily.
So instead of dealing with freezer-burned leftovers or overly icy texture, the Creami ensures every scoop is as satisfying as the first.
3. Ingredients You’ll Need
Wondering what goes into this outrageous dessert? The ingredients are surprisingly simple, but the magic lies in how they come together.
Ice Cream Base:
- 1 cup whole milk
- ¾ cup heavy cream
- ½ cup granulated sugar
- 1 tsp vanilla extract
- 1–2 drops of royal blue gel food coloring (optional but iconic)
- A pinch of salt
Cookie Mix-Ins (add later):
- 4 Oreo cookies (roughly chopped)
- 4 mini Chips Ahoy cookies (roughly chopped)
- Optional: 2 tbsp edible cookie dough chunks
You can swap cookies based on your mood—just make sure they’re chunky and flavorful.
4. How to Make Cookie Monster Ice Cream in the Ninja Creami
Let’s get right into it. This process is broken into phases to keep it simple and foolproof.
Step 1: Create Your Base
In a bowl, whisk together:
- Whole milk
- Heavy cream
- Sugar
- Vanilla extract
- Salt
- Gel food coloring
Whisk until the sugar is completely dissolved and the color is evenly distributed.
Step 2: Freeze the Mixture
Pour the base into a Ninja Creami pint container and freeze it for at least 24 hours on a level surface. The base must be fully solid before you begin spinning it.
Why freeze flat? Because uneven freezing can cause inconsistent texture when processed.
Step 3: First Spin (Ice Cream Mode)
After 24 hours, remove your frozen pint from the freezer and insert it into the Ninja Creami base. Lock it into the machine and select Ice Cream mode.
Once the first spin is done, the texture might be slightly crumbly. Don’t worry—this is totally normal.
Step 4: Add Cookie Mix-Ins and Re-Spin
Use a spoon to make a well in the center of your ice cream. Add your chopped cookies and optional dough chunks.
Reinsert the pint and select Mix-In mode.
The result? A creamy, blue masterpiece loaded with cookie bits in every bite.
5. Flavor Variations You Can Try
Want to get creative with your Cookie Monster theme? Here are a few playful twists:
A. Double Chocolate Monster
- Add 1 tbsp cocoa powder to the base.
- Use chocolate cream Oreos and chocolate chip cookies.
B. Mint Monster
- Add ¼ tsp peppermint extract.
- Use mint-flavored cookies or mint Oreos.
C. Cookie Dough Explosion
- Add 3–4 tbsp edible cookie dough as your only mix-in.
Each version keeps the heart of the Cookie Monster identity but adds a new flavor twist that you can personalize.
6. Nutritional Breakdown
Here’s a quick glance at the approximate nutrition (per serving based on 4 servings):
| Nutrient | Amount |
|---|---|
| Calories | 290 kcal |
| Carbohydrates | 32 g |
| Fat | 18 g |
| Protein | 3 g |
| Sugar | 28 g |
Want to make it lighter? You can substitute:
- Skim milk or almond milk for whole milk
- Coconut cream for heavy cream
- Monk fruit or erythritol for sugar
Just know that any changes may affect the creaminess and texture slightly.
7. Pro Tips for the Creamiest Cookie Monster Ice Cream
You might be thinking—how do I make this even better?
Let’s break it down.
- Chill your mix-in cookies beforehand. Warm cookies can melt into the base.
- Don’t overload with mix-ins on the first try. It’s tempting, but too many chunks can interrupt the creamy flow.
- Use gel food coloring over liquid. It gives vibrant color without thinning the mixture.
- Level your pint while freezing to ensure uniform churning.
- Add a re-spin if your mix-ins aren’t blending smoothly enough.
These small tricks can dramatically improve your outcome with minimal effort.
Video:
8. Can Kids Make This Recipe Too?
Absolutely. This recipe is a great weekend activity for kids, especially since the Cookie Monster theme grabs their attention.
How can kids help?
- Mix the base ingredients
- Add the food coloring
- Chop cookies with supervision
- Press the button on the Creami machine
Just remember that adults should handle the sharp parts and machinery setup.
9. How Long Can You Store It?
Thinking about batch-making a few pints?
You can store the pre-spun base in the freezer for up to 2 weeks in the Creami container. Once processed, the texture is best within 24–48 hours, though you can always re-spin it for freshness.
Here’s the breakdown:
- Unspun Base: 2 weeks (before spinning)
- Spun Ice Cream: 2–3 days (store in airtight container)
Want to prep for a party? Freeze multiple pints with the base in advance and spin them fresh as needed.
10. Serving & Presentation Ideas
Yes, you can just scoop and devour—but how about making it a showstopper?
Try serving it:
- In blue waffle cones (yes, they exist!)
- Topped with extra crushed cookies
- With a drizzle of hot fudge or chocolate syrup
- In small mason jars for party servings
- Alongside a warm cookie or brownie
Presentation matters, especially when you’re making something this bold and vibrant.
11. Common Mistakes to Avoid
Even though the Ninja Creami makes things simple, there are a few things to steer clear of:
- Don’t under-freeze your base. Less than 24 hours can give icy results.
- Avoid overfilling your pint. Leave ½ inch from the top to prevent overflow.
- Skip watery mix-ins. Anything too juicy or soft (like fresh fruit) can mess up texture unless pre-frozen.
- Don’t use regular food coloring. Gel works better, and you’ll need way less.
Keep these in mind to ensure your ice cream turns out amazing every single time.
12. Can You Make It Dairy-Free or Vegan?
Yes—and it still turns out delicious.
Here’s what you can do:
Vegan Base Alternative:
- 1 cup unsweetened almond milk
- ¾ cup full-fat coconut cream
- ½ cup maple syrup or agave
- Vanilla extract
- Vegan-friendly cookies (like Trader Joe’s Joe-Joe’s)
Just make sure to adjust your base’s consistency to avoid iciness—coconut cream helps with richness.
13. Final Thoughts: Is It Worth the Effort?
At this point, you might be wondering—should I really make Cookie Monster Ice Cream at home?
Absolutely. Here’s why:
- It’s fun, customizable, and unforgettable.
- The flavor payoff is massive compared to store-bought.
- You control the ingredients—no weird preservatives.
- It’s perfect for both kids and adults alike.