Introduction
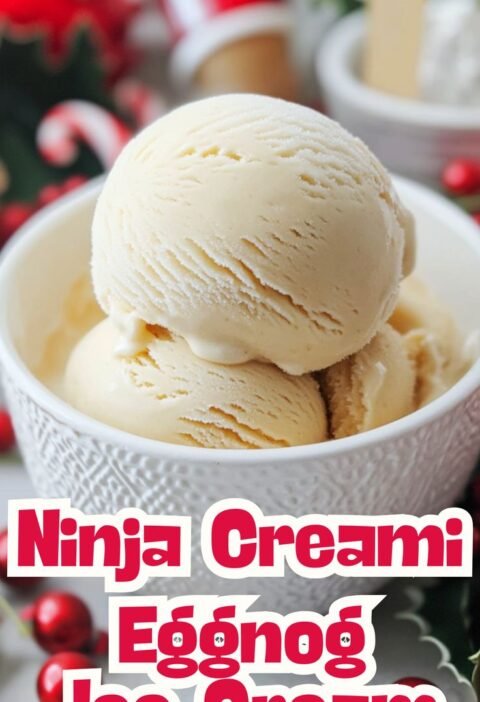
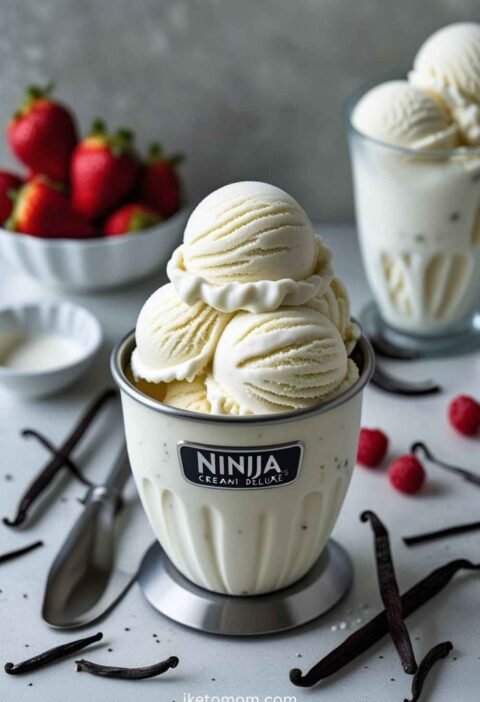
There’s something magical in homemade vanilla bean ice cream—a smooth, fragrant scoop that feels both classic and luxurious. With just a few simple ingredients and your Ninja Creami, you can capture that aroma in your freezer.
This version celebrates pure vanilla, letting whole bean flavor shine through a creamy, dense texture. No load of extras—just the warmth of vanilla, smooth dairy, and a rich mouthfeel.
Want to level up your ice cream game with something timeless and scrumptious? Let’s dive into the details.
1. Why Vanilla Bean Ice Cream Stands the Test of Time
Why go with vanilla when there are trendy flavors everywhere?
Vanilla bean offers a gentle, comforting profile that pairs beautifully with almost anything—fruit compote, warm pies, brownies, coffee. It also acts as a canvas when you want to layer flavors like caramel or berries.
A homemade vanilla bean ice cream showcases quality. That tiny fleck of vanilla and aromatic depth sets it apart from highly processed counterparts.
2. Why the Ninja Creami Makes Homemade Exceptional
Couldn’t you blend this and freeze? Sort of—but texture won’t match up. The Ninja Creami creates gourmet results by spinning your frozen base into smooth, scoopable perfection. It also lets you fine-tune later if it’s too icy or firm.
Other perks:
- You control ingredients and portion
- Re‑spin forgotten pints and regain perfect texture
- Use any milk or cream you love, including dairy-free
- Add or skip flavors as desired
Homemade meets high performance—and flavor.
3. Ingredients You’ll Use
| Ingredient | Quantity | Purpose |
|---|---|---|
| Whole milk | 1 cup (240 ml) | Adds dairy richness |
| Heavy cream | ¾ cup (180 ml) | Delivers silky texture |
| Granulated sugar | ½ cup (100 g) | Sweetens and stabilizes texture |
| Vanilla bean | 1 whole or 2 tsp vanilla extract | Infuses natural aromatics |
| Egg yolk (optional) | 1 large | Adds custard richness (optional) |
| Pinch of salt | to taste | Enhances flavors |
Want it lower-fat or plant-based? Swap for coconut cream, almond milk, or oat milk accordingly.
4. Crafting the Infused Vanilla Custard
Step 1: Prepare Vanilla Bean
Slice bean in half lengthwise, scrape seeds, and drop seeds and pod into a saucepan.
Step 2: Heat Milk & Cream
Combine milk, cream, and vanilla pod over medium heat until steaming (not boiling). Remove from heat and infuse 30 minutes. If using extract, add after cooking, skipping the bean.
Step 3: Make Custard (Optional)
Want a richer custard? Whisk sugar and yolk; slowly add warm milk while stirring. Return to medium heat, stirring until thick enough to coat the back of a spoon.
Step 4: Strain & Sweeten
Strain out the pod and whisk in sugar, salt, and vanilla extract (if not using pod). Ensure sugar dissolves and mixture is smooth and fragrant.
Step 5: Cool & Freeze
Allow base to reach room temperature, then pour into Ninja Creami pint. Freeze flat for 24 hours.
Cool base and proper freeze are key to final creaminess.
5. Spinning That Creamy Goodness
After 24 hours:
- Insert frozen pint into the Creami bowl and lock on.
- Choose Ice Cream setting and let it spin.
- Check texture: If sandy or crumbly, add 1 tsp milk or cream and Re‑Spin.
- Repeat once for optimal scoopability.
Redefining “silky”—that’s your ice cream.
6. Customization Options
Want to personalize vanilla perfection? Here are some ideas:
- Maple vanilla: Swap sugar for pure maple syrup.
- Citrus burst: Add zest of half an orange or lemon.
- Spiced note: Stir in a pinch of cardamom, cinnamon, or nutmeg.
- Butter pecan: Mix in 2 Tbsp toasted pecans after first spin.
- Chocolate ribbon: Drizzle in melted chocolate during the Mix‑In stage.
Each guide shifts your base into a new flavor world.
Video:
7. Serving Suggestions
Vanilla bean is endlessly versatile. Try these serving ideas:
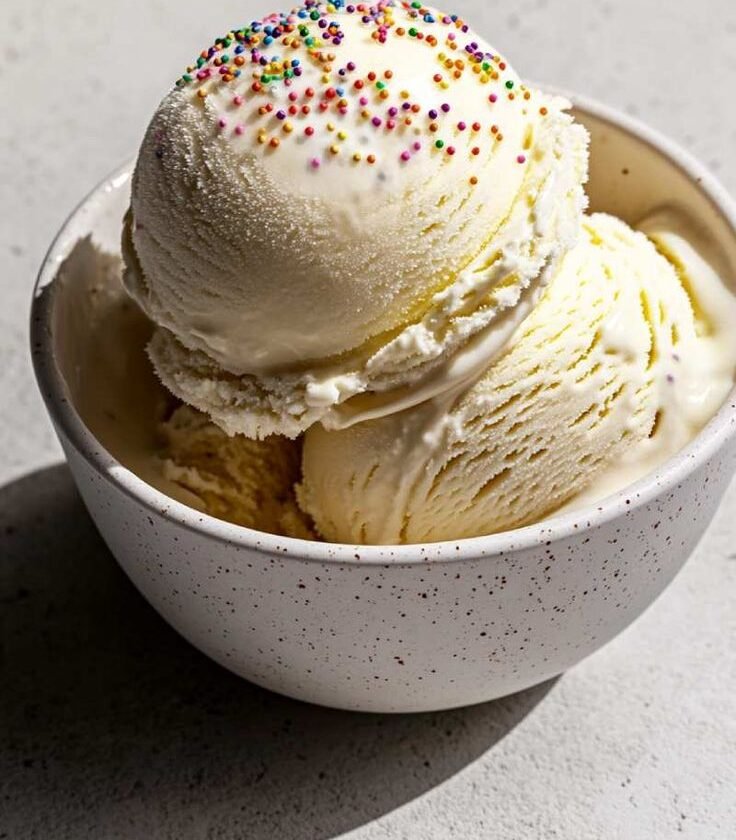
- Simple scoops in chilled bowls
- Sandwich between chocolate chip cookies
- Top with warm berry compote
- Scoop alongside apple pie or brownies
- Blend into coffee milkshakes or floats
It acts as both hero and helper for desserts and treats.
8. How to Store and Re‑Spin
Here’s how to preserve texture:
- Level the surface and reseal the pint
- Freeze again promptly
- When ready to serve, let sit ~5 minutes, then Re‑Spin
This method restores freshness—every scoop tastes new.
9. Nutritional Snapshot
Estimated per half‑pint:
- Calories: ~260
- Fat: ~18 g
- Sugar: ~28 g
- Protein: ~4 g
Swap in lighter milks for lower calorie counts, though texture becomes a bit lighter.
10. Frequently Asked Questions
Q: Do I need egg yolk?
A: No—but yolk yields richer, custard-like texture.
Q: Fresh vanilla or extract?
A: Bean gives authentic aroma; extract is easier and just as tasty.
Q: It spun icy—help!
A: Make sure base froze fully and re‑spin after adding milk or cream.
Q: Vegan base?
A: Use coconut cream or nut milks, melt plant-based “butter” for custard-like depth.
Conclusion
The Ninja Creami Vanilla Bean Ice Cream is a perfect blend of simplicity and luxury. With minimal ingredients and machine power, you achieve that coveted creamy scoop packed with real vanilla flavor.
This recipe becomes a canvas—layer fresh fruits, swirl sauces, personalize to your joy. It’s classic dessert elegance in a freezer-ready form.