Dreaming of a Chilled Coffee Pick-Me-Up While Staying Keto?
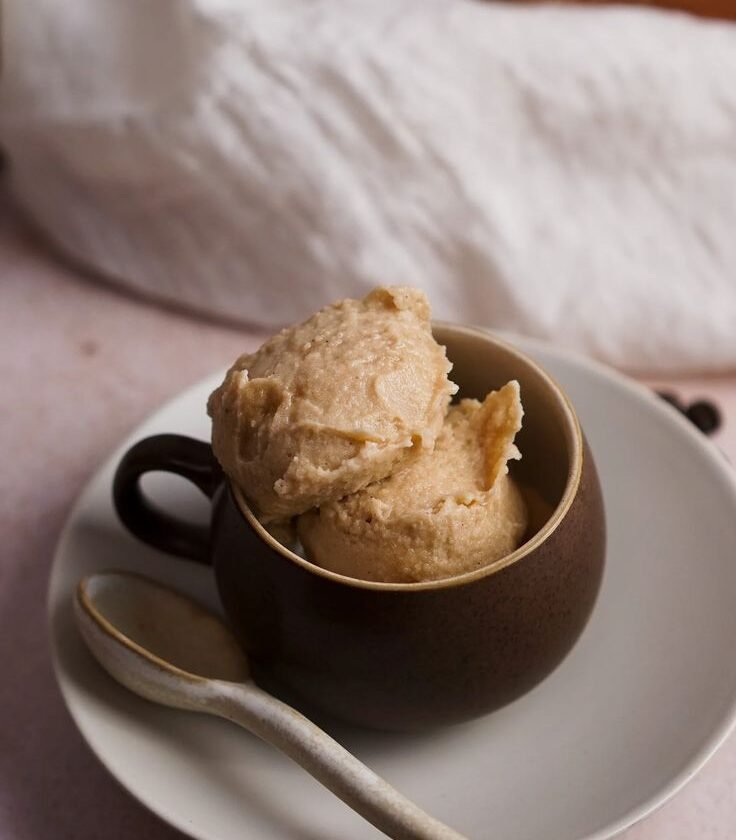
You can satisfy your coffee cravings with something cooler—and keto-compatible—even in the heat of summer. This Ninja Creami Keto Coffee Ice Cream is your solution: it delivers rich espresso flavor, creaminess, and a caffeine kick, all without added sugar or carbs.
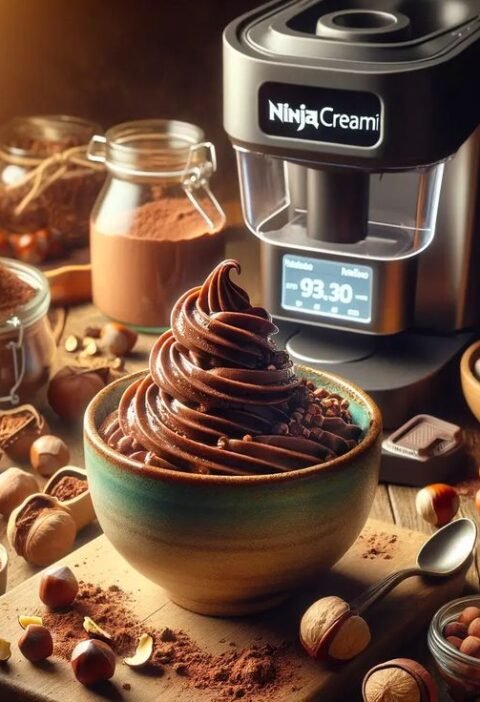
This recipe blends real coffee, high-fat dairy, and low-carb sweetener into a smooth frozen treat. And the Ninja Creami transforms the base into silky ice cream with one spin—no guilt, no compromise, just flavor and satisfaction.
1. What Makes This Coffee Ice Cream Keto-Friendly and Irresistible?
Why this recipe? Because it marries coffee culture with keto practicality:
- Bold espresso flavor that tastes like your favorite latte
- Smooth, creamy texture ideal for a chilled break
- No added sugar, while staying under 5 g net carbs per serving
- Quick and easy prep that fits into busy routines
- Satisfying caffeine jolt, and yes—it doubles as a dessert and an afternoon pick-me-up
It hits all the right notes, whether you’re a coffee addict or just craving cool comfort.
2. Ingredients You’ll Need for a Brewed-to-Perfection Pint
Here’s what goes into each keto pint of homemade coffee ice cream:
Creamy Coffee Base:
- 1 cup unsweetened almond milk (or coconut milk for extra richness)
- ½ cup heavy cream (for luscious texture)
- 2 tbsp allulose or monk fruit sweetener (adjust sweetness to taste)
- 2 shots strong espresso (cooled) – about 60 ml
- ½ tsp vanilla extract
- Pinch of sea salt
Optional Mix-Ins:
- 2 tsp unsweetened cocoa nibs
- 1 tsp sugar-free chocolate chips
- 1 tsp instant espresso granules (for a stronger flavor punch)
Allulated sweeteners keep your ice cream soft without adding carbs or affecting flavor. Real coffee gives that irresistible roast flavor.
3. Tools You’ll Use for the Perfect Brewed Dessert
You don’t need fancy gadgets. Here’s all you need:
- Ninja Creami (with its pint container and blade)
- Espresso maker or coffee machine
- Medium mixing bowl and whisk
- Measuring cups/spoons
- Freezer space (to freeze the pint for a full 24 hours)
Minimal effort, maximum flavor.
4. Step 1 – Create the Coffee Ice Cream Base
Let’s build the foundation of flavor:
- In a bowl, pour almond milk and heavy cream.
- Whisk in sweetener, vanilla, and salt until everything dissolves.
- Pour in cooled espresso and stir until smooth.
- Taste—add more sweetener or espresso if needed.
- Pour the mixture into the Ninja Creami pint, staying below the “Max Fill” line.
That’s it! Now we freeze it to set the stage.
5. Step 2 – Freeze to Firm Up the Base
Freeze flat for a full 24 hours. A rock-solid freeze ensures the Creami can spin it into smooth ice cream. Don’t skip this—texture depends on it.
Video:
6. Step 3 – Creami Time: Turn Frozen Block into Ice Cream
After the base is frozen:
- Lock the pint into the Creami outer bowl and attach the blade lid.
- Choose “Ice Cream” mode and let it spin.
- If the texture is dry or crumbly, add 1 tbsp heavy cream or almond milk and press “Re-spin.”
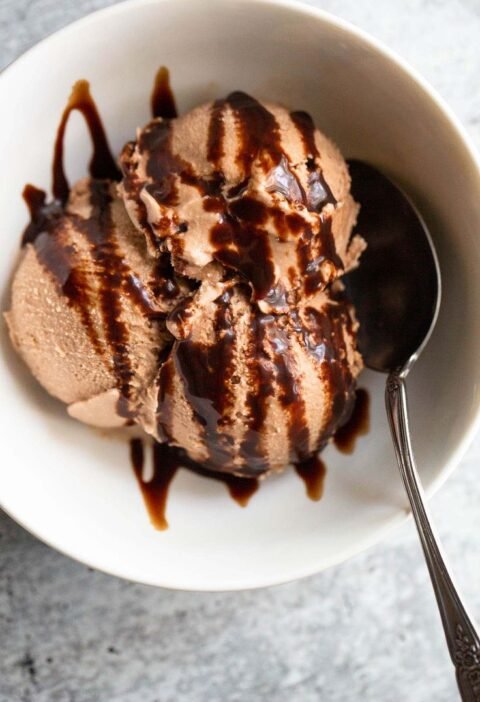
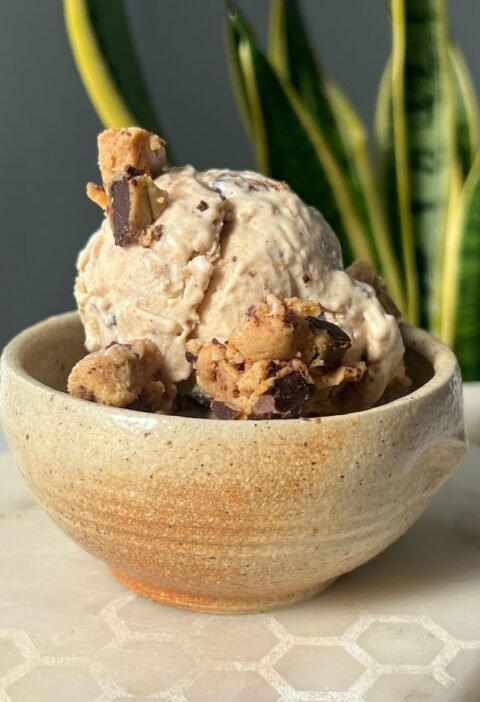
Now you have silky coffee ice cream ready for crunch or chocolate layers.
7. Step 4 – Customize with Mix‑Ins (Optional)
Want a flavor twist?
- Create a small well in the ice cream.
- Add your chosen mix-ins—like cocoa nibs or chocolate chips.
- Use the “Mix‑In” function to fold them through.
You’ll end up with crunchy bits or mocha flecks inside—delicious.
8. Step 5 – Nutrition Snapshot & Keto Macros
Here’s the macro breakdown for the whole pint (makes 2 servings):
| Macro | Per Pint |
|---|---|
| Calories | 380–420 |
| Net Carbs | 4–5 g |
| Fat | 36 g |
| Protein | 5 g |
| Sugar | <1 g (from milk/coffee) |
Stick to your keto goals while still indulging with a flavor-packed treat.
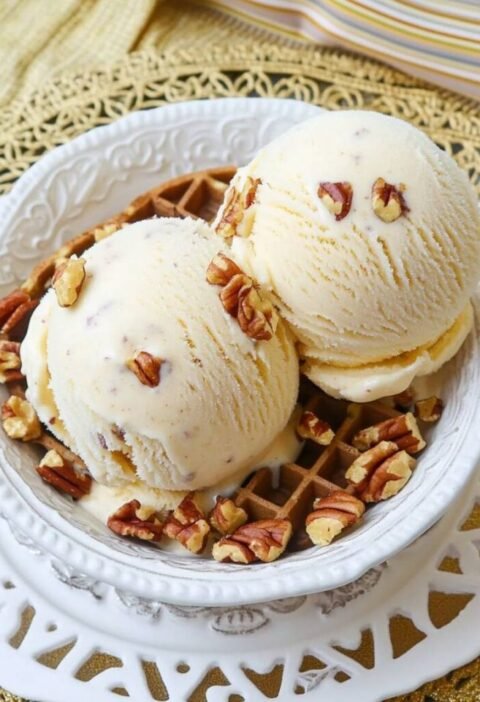
9. Flavor Variations You’ll Love
Ready for something different? Here are delicious options:
- Mocha Magic: Add 1 tbsp unsweetened cocoa powder to the base.
- Mint Mocha: Add ½ tsp peppermint extract and chocolate chips.
- Vanilla Coffee Swirl: Swirl in sugar-free vanilla syrup after first spin.
- Espresso Chip: Use 1 tbsp cacao nibs for texture and flavor pop.
Each variation keeps it keto and deliciously caffeinated.
10. Troubleshooting Tips for Smooth Outcomes
These quick fixes make your dessert consistently great:
- Too icy? Re-spin with more cream or milk.
- Weak flavor? Add a little more espresso before freezing.
- Less creamy? Use heavier cream ratio next time.
- Overly sweet? Reduce sweetener—ice frames sweetness more intensely.
Play with ratio and spins to find your perfect creamy texture.
11. Storage and Re‑Spinning Advice
If you save some:
- Smooth the surface before resealing and freezing flat.
- To serve again, re-spin with 1 tbsp cream or milk for scoopable texture.
- Keep it for up to three weeks.
Re-spinning refreshes the texture as if new.
12. Why the Ninja Creami Beats Blenders for Keto Ice Cream
This machine shaves and whips your frozen base. Unlike blenders, it:
- Handles rock-solid high-fat bases without heating them
- Doesn’t need sugar to maintain texture
- Delivers consistent, scoop-ready texture every time
- Gives you full control over ingredients
For keto ice cream fans, it’s a game-changer.
13. Final Thoughts – Should You Make This?
The answer is: absolutely. This coffee ice cream:
- Delivers real coffee flavor—no artificial syrups
- Feels rich, creamy, indulgent
- Stays low-carb and keto compliant
- Offers quick prep with minimal fuss
If you crave your morning brew in dessert form—or just want a refreshing coffee treat—this recipe hits the sweet spot.
Your Next Step – Brew, Freeze, Spin, Savor
Grab your espresso, stir up a creamy coffee base, freeze it overnight, spin it in the Ninja Creami—and enjoy a pint of your favorite flavor. It’s the perfect keto dessert and caffeine fix rolled into one. Cheers to indulgence done right!